
In the previous tutorial, we’ve seen how to setup libgdx for rendering a 3D scene. We’ve setup a camera, added some lights and rendered a green box. Now let’s make things a bit more iteresting by adding loading a model instead of creating a box.
The full source, assets and a runnable tests of this tutorial can be found on this github repository.
You can start your favorite modeling application or grab an existing model. I used the ship model that comes with LibGDX gdx-invaders, you can find it here. You can extract it to the data folder within the assets folder of the android project. Notice that it contains three files, which must be included in the same folder:
- ship.obj: the wavefront model file we're going to load
- ship.mtl: the wavefront material file the model uses
- ship.png: the texture the material uses
Please note that this model is in the wavefront (OBJ) file format. This is only done for the sake of this tutorial. The OBJ format is not fully supported and should be avoided. Later on in this tutorial we will see how to convert a model to a more suitable file format. If you use your own (OBJ) model, you might notice that it might not render correctly. That’s to be expected and will be resolved later on.
Now let’s change the Basic3DTest to use that model instead of the box we created earlier:
public class LoadModelsTest implements ApplicationListener {
...
	@Override
	public void create () {
		modelBatch = new ModelBatch();
		environment = new Environment();
		environment.set(new ColorAttribute(ColorAttribute.AmbientLight, 0.4f, 0.4f, 0.4f, 1f));
		environment.add(new DirectionalLight().set(0.8f, 0.8f, 0.8f, -1f, -0.8f, -0.2f));

		cam = new PerspectiveCamera(67, Gdx.graphics.getWidth(), Gdx.graphics.getHeight());
		cam.position.set(1f, 1f, 1f);
		cam.lookAt(0,0,0);
		cam.near = 1f;
		cam.far = 300f;
		cam.update();

		ModelLoader loader = new ObjLoader();
		model = loader.loadModel(Gdx.files.internal("data/ship.obj"));
		instance = new ModelInstance(model);

		camController = new CameraInputController(cam);
		Gdx.input.setInputProcessor(camController);
	}
...
}
View full source code on github
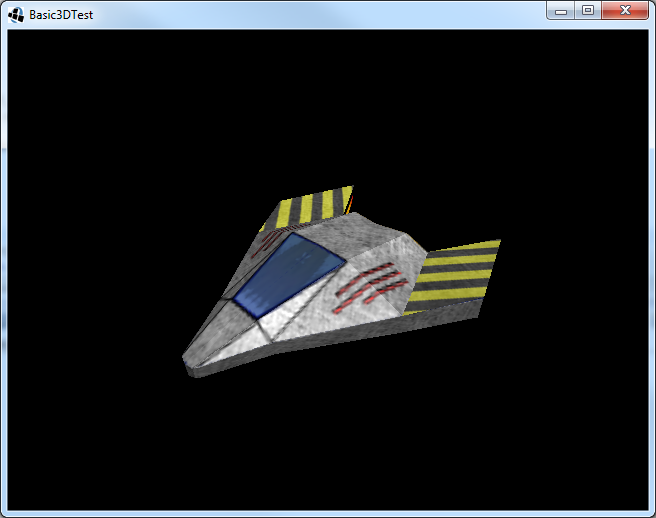
Just a few changes in there. First off I set the camera closer to the origin, because the ship model is rather small. Next we removed the ModelBuilder and instead created a ModelLoader and made it to load the ship model, that’s it.
That’s nice for our test, but in bigger applications you’ll probably want to use AssetManager to manage the models. So let’s add AssetManager:
public class LoadModelsTest implements ApplicationListener {
	public PerspectiveCamera cam;
	public CameraInputController camController;
	public ModelBatch modelBatch;
	public AssetManager assets;
	public Array<ModelInstance> instances = new Array<ModelInstance>();
	public Environment environment;
	public boolean loading;

	@Override
	public void create () {
		modelBatch = new ModelBatch();
		environment = new Environment();
		environment.set(new ColorAttribute(ColorAttribute.AmbientLight, 0.4f, 0.4f, 0.4f, 1f));
		environment.add(new DirectionalLight().set(0.8f, 0.8f, 0.8f, -1f, -0.8f, -0.2f));

		cam = new PerspectiveCamera(67, Gdx.graphics.getWidth(), Gdx.graphics.getHeight());
		cam.position.set(1f, 1f, 1f);
		cam.lookAt(0,0,0);
		cam.near = 1f;
		cam.far = 300f;
		cam.update();

		camController = new CameraInputController(cam);
		Gdx.input.setInputProcessor(camController);

		assets = new AssetManager();
		assets.load("data/ship.obj", Model.class);
		loading = true;
	}

	private void doneLoading() {
		Model ship = assets.get("data/ship.obj", Model.class);
		ModelInstance shipInstance = new ModelInstance(ship);
		instances.add(shipInstance);
		loading = false;
	}

	@Override
	public void render () {
		if (loading && assets.update())
			doneLoading();
		camController.update();

		Gdx.gl.glViewport(0, 0, Gdx.graphics.getWidth(), Gdx.graphics.getHeight());
		Gdx.gl.glClear(GL20.GL_COLOR_BUFFER_BIT | GL20.GL_DEPTH_BUFFER_BIT);

		modelBatch.begin(cam);
		modelBatch.render(instances, environment);
		modelBatch.end();
	}

	@Override
	public void dispose () {
		modelBatch.dispose();
		instances.clear();
		assets.dispose();
	}

	public void resume () {
	}

	public void resize (int width, int height) {
	}

	public void pause () {
	}
}
View full source code on github
Let’s go through the changes. We removed the Model instance and replaced it by the AssetManager. Instead of one ModelInstance we replaced it with an array of instances, which is more realistic scenario and allows us to render more instaces later on. We also added a flag to indicate if we are still loading.
Now in the Create method we create the asset manager and tell it to load the ship model. Next we set the loading flag, so we know we need to update the assetmanager. In our render method we check if the loading flag is set and if so we call assets.update(). If assets.update() return true we know it’s done loading so we call a new method called doneLoading(). Also in the render method we render all the instances instead of just one. If the assets aren’t loaded yet, this means the array is empty.
The new method doneLoading() fetches the ship model we just loaded, creates an instance called shipInstance and adds it to the instances array, causing it to be rendered. Finally we need to set the loading flag to false, so the assets.update() method isn’t called anymore.
If you run this you’ll see the output is the same as before. Although you might shortly see a black screen before the ship pops in, which is caused by the model being loaded asynchronous now.
Since we now support multiple model instances, let’s add a few more.
public class LoadModelsTest implements ApplicationListener {
...
	@Override
	public void create () {
		...
		cam.position.set(7f, 7f, 7f);
		...
	}

	private void doneLoading() {
		Model ship = assets.get("data/ship.obj", Model.class);
		for (float x = -5f; x <= 5f; x += 2f) {
			for (float z = -5f; z <= 5f; z += 2f) {
				ModelInstance shipInstance = new ModelInstance(ship);
				shipInstance.transform.setToTranslation(x, 0, z);
				instances.add(shipInstance);
			}
		}
		loading = false;
	}
...
}
View full source code on github
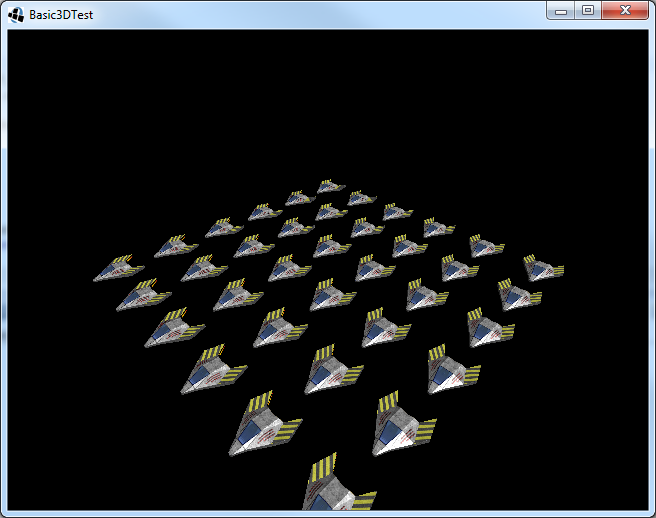
Here we move the camera a bit away from the origin, so we can see all our ships. Note that you can also scroll the mouse to zoom in or out. In the doneLoading method we now create multiple instances and position them in a grid on the XZ plane.
Using an obj (wavefront) file is nice for testing. But it is not suitable to use in a real application, because the file format doesn’t include enough information for rendering complex models. In fact, the ObjLoader that is included with LibGDX is only intended for testing and doesn’t implement all functionality you might want to use.
Luckily there’s fbx-conv, which converts models exported from modeling software to a format suitable for rendering using LibGDX. Unlike the name might suggest, fbx-conv is suitable for converting many file formats (including obj), although fbx is the preferred file format because almost every modeling application support that format. There are two file formats LibGDX support, g3dj (which is json textual for easy debugging) and g3db (binary which you should use on release, because it’s smaller and faster to load).
So let’s convert our ship model. Download fbx-conv and call: [java]fbx-conv ship.obj[/java] Make sure the other files (like ship.mtl) are within the same folder. Note that the actual executable might be named differently, e.g. fbx-conv-win32, in which case you should use that name accordingly. I assume you know how to execute command line (CLI) utilities on your platform. If not, I’d recommend learning so. Don’t drag and drop your fbx file on fbx-conv, it will not work for most scenario’s.
This should give you a file called ship.g3db, which we can use within our test application:
public class LoadModelsTest implements ApplicationListener {
...
	@Override
	public void create () {
		...
		assets.load("data/ship.g3db", Model.class);
		...
	}

	private void doneLoading() {
		Model ship = assets.get("data/ship.g3db", Model.class);
		...
	}
...
}
This webpage is open source and can be found at: https://github.com/xoppa/xoppa.github.io.
The accompanying sources can be found at: https://github.com/xoppa/blog.
Let me know what you think about this post in the comments below. If you need help then please use the forum instead. If you found an issue with this post then please report an issue or send a pull request.