
This tutorial shows how to create and use a shader with LibGDX 3D api. It will only cover the very basics. We will see how to use DefaultShader with custom shader code. Next we will look at creating a shader from scratch on.
The full source, assets and a runnable tests of this tutorial can be found on this github repository.
As we’ve seen previously a shader is responsible for the actual rendering of a Renderable. The default shader that comes with LibGDX, supports most of the basic rendering required. However, for more advanced rendering, like effects, you’ll probably want to use a custom shader.
Before we dive deeper into shaders, let’s first start with a simple example. For this we start where we left of in the previous tutorial:
public class ShaderTest implements ApplicationListener {
   public PerspectiveCamera cam;
   public CameraInputController camController;
   public Shader shader;
   public RenderContext renderContext;
   public Model model;
   public Environment environment;
   public Renderable renderable;

   @Override
   public void create () {
       environment = new Environment();
       environment.set(new ColorAttribute(ColorAttribute.AmbientLight, 0.4f, 0.4f, 0.4f, 1f));
       environment.add(new DirectionalLight().set(0.8f, 0.8f, 0.8f, -1f, -0.8f, -0.2f));

       cam = new PerspectiveCamera(67, Gdx.graphics.getWidth(), Gdx.graphics.getHeight());
       cam.position.set(2f, 2f, 2f);
       cam.lookAt(0,0,0);
       cam.near = 1f;
       cam.far = 300f;
       cam.update();

       camController = new CameraInputController(cam);
       Gdx.input.setInputProcessor(camController);

       ModelLoader modelLoader = new G3dModelLoader(new JsonReader());
       model = modelLoader.loadModel(Gdx.files.internal("data/invaders.g3dj"));

       NodePart blockPart = model.getNode("ship").parts.get(0);

       renderable = new Renderable();
       blockPart.setRenderable(renderable);
       renderable.environment = environment;
       renderable.worldTransform.idt();

       renderContext = new RenderContext(new DefaultTextureBinder(DefaultTextureBinder.WEIGHTED, 1));
       shader = new DefaultShader(renderable);
       shader.init();
   }

   @Override
   public void render () {
       camController.update();

       Gdx.gl.glViewport(0, 0, Gdx.graphics.getWidth(), Gdx.graphics.getHeight());
       Gdx.gl.glClear(GL10.GL_COLOR_BUFFER_BIT | GL10.GL_DEPTH_BUFFER_BIT);

       renderContext.begin();
       shader.begin(cam, renderContext);
       shader.render(renderable);
       shader.end();
       renderContext.end();
   }

   @Override
   public void dispose () {
       shader.dispose();
       model.dispose();
   }

    @Override public void resume () {}
    @Override public void resize (int width, int height) {}
    @Override public void pause () {}
    @Override public void dispose () {}
}
Note that I renamed that class and used a convenience method to set the Renderable values. When first creating a shader, it is useful to keep your renderable as simple as possible. So let’s change the code a bit:
   public void create () {
       cam = new PerspectiveCamera(67, Gdx.graphics.getWidth(), Gdx.graphics.getHeight());
       cam.position.set(2f, 2f, 2f);
       cam.lookAt(0,0,0);
       cam.near = 1f;
       cam.far = 300f;
       cam.update();

       camController = new CameraInputController(cam);
       Gdx.input.setInputProcessor(camController);

       ModelBuilder modelBuilder = new ModelBuilder();
       model = modelBuilder.createSphere(2f, 2f, 2f, 20, 20,
      	 new Material(),
      	 Usage.Position | Usage.Normal | Usage.TextureCoordinates);

       NodePart blockPart = model.nodes.get(0).parts.get(0);

       renderable = new Renderable();
       blockPart.setRenderable(renderable);
       renderable.environment = null;
       renderable.worldTransform.idt();

       renderContext = new RenderContext(new DefaultTextureBinder(DefaultTextureBinder.WEIGHTED, 1));
       shader = new DefaultShader(renderable);
       shader.init();
   }
View full source code on github
Here we removed the environment object and simply set renderable.environment to null, indicating that no environment (e.g. lights) should be applied. Next we removed the ModelLoader and instead use the ModelBuilder, which we’ve used earlier, to create a simple sphere. The sphere’s bounds are [2, 2, 2], the sphere has an empty material and each vertex of the sphere has position, normal and texture coordinates attributes.
If you make sure to have OpenGL ES 2.0 enabled and run the test, you’ll see the very boring sphere we just created:
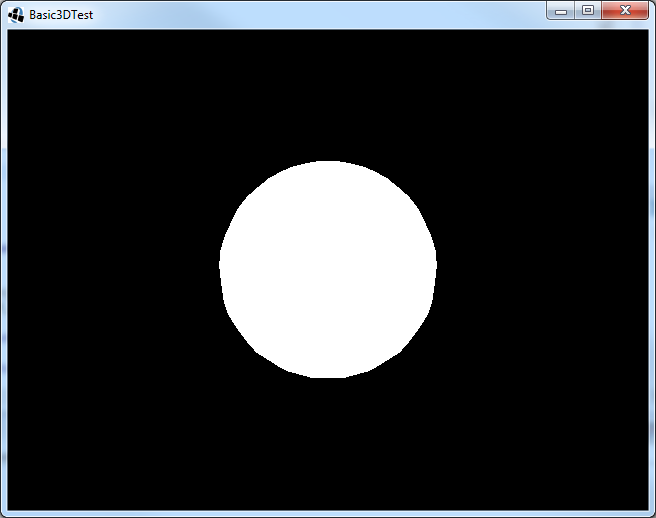
In fact, it almost looks like its just a circle instead of a sphere. Just to make sure we know what we are rendering, add the following line to the create method:
renderable.meshPart.primitiveType = GL20.GL_POINTS;
View full source code on github
And run it again.
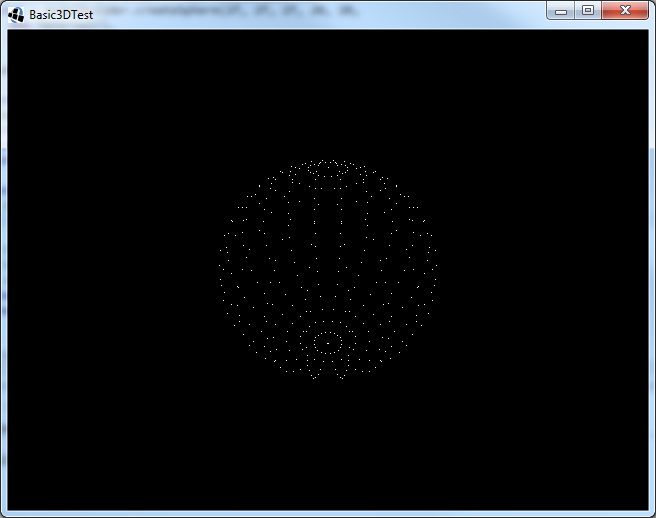
Note that you can rotate the camera by dragging on the screen. Here we see every vertex the sphere contains. If you look closely you’ll see that the sphere is made up of 20 gradually sized and spaced circles (bottom to top) and each circle contains 20 points (around the Y axis). Which matches the divisionsU and divisionsV arguments we specified while creating the sphere. I assume you are familiar with vertices and meshes in general, so I’ll not dive deeper into this. But keep in mind what the difference is between a vertex (the points in the image above) and a fragment (every visible pixel of the mesh).
Make sure to remove the line we previously added (renderable.meshPart.primitiveType = GL20.GL_POINTS;), so we’re back to the opaque boring sphere.
Now let’s make that sphere a bit more interesting by customizing the default shader. This is done by two glsl files, representing the shader code. One, which is executed for every vertex within our sphere (the dots shown above) and one which is executed for every pixel (fragment) on the sphere. So create two empty files within the data folder of the assets folder and name them test.vertex.glsl and test.fragment.glsl.
First we’ll write the test.vertex.glsl file:
attribute vec3 a_position;
attribute vec3 a_normal;
attribute vec2 a_texCoord0;

uniform mat4 u_worldTrans;
uniform mat4 u_projViewTrans;

varying vec2 v_texCoord0;

void main() {
	v_texCoord0 = a_texCoord0;
	gl_Position = u_projViewTrans * u_worldTrans * vec4(a_position, 1.0);
}
View full source code on github
Here we first define three attributes: a_position, a_normal and a_texCoord0. Those will be set with the position, normal and texture coordinate values of each vertex.
Next we define two uniforms. u_worldTrans will receive the renderable.transform value and u_projViewTrans will be set with the cam.combined value.
Note that naming of these variables is defined in the DefaultShader class, more on that soon.
Finally we define a varying: v_texCoord0, which we will use to transfer the a_texCoord0 value to the fragment shader.
The main method is the method which will be called for every vertex. In there, we assign the value of a_texCoord0 to v_texCoord0 and next we calculate the location on the screen of the vertex.
Now we’ll write the test.fragment.glsl file:
#ifdef GL_ES
precision mediump float;
#endif

varying vec2 v_texCoord0;

void main() {
	gl_FragColor = vec4(v_texCoord0, 0.0, 1.0);
}
View full source code on github
First we use a macro to set the precision when we’re on OpenGL ES (e.g. Android, iOS or webGL). Next we define the varying v_texCoord0, just like we did in the vertex shader.
In the main method we set the red component of the color of the fragment to the texture X coordinate (U) and the green component to the texture Y coordinate (V).
Since we’ve now got our glsl files, let’s customize the default shader to use them:
   public void create () {
       ...
       String vert = Gdx.files.internal("data/test.vertex.glsl").readString();
       String frag = Gdx.files.internal("data/test.fragment.glsl").readString();
       shader = new DefaultShader(renderable, new DefaultShader.Config(vert, frag));
       shader.init();
   }
View full source code on github
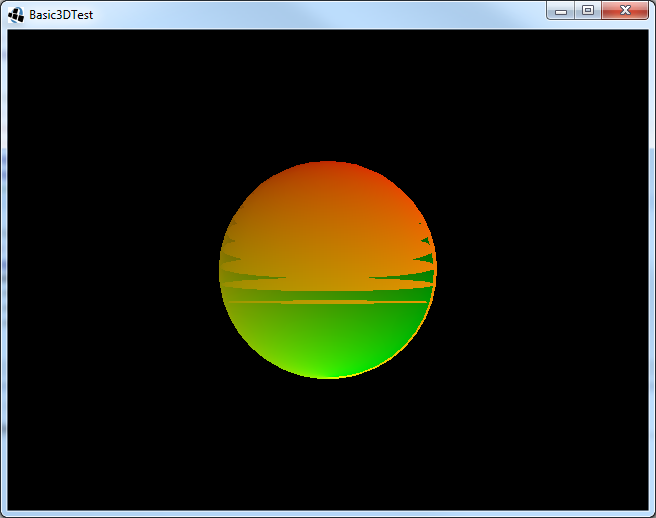
Here we read the two files we just created into a string and provide those while creating the DefaultShader. Let’s run it:
That looks about right. The red and green color components of the sphere are set to X (U) and Y (V) texture coordinates. So with just a few lines of code you can customize the DefaultShader with your own GLSL code.
But that will only work if your shader uses the same attributes and uniforms as the DefaultShader uses. Or in other words, the DefaultShader provides a GLSL context in which custom GLSL code can be run.
Now let’s look at what’s actually happening here.
The GLSL code we just wrote is run at the GPU. Setting the vertex attributes (a_position, etc.) and uniforms (u_worldTrans, etc.), providing the mesh to the GPU and optionally providing textures etc. to the GPU, is done at CPU. The GPU and CPU parts must work together to render the renderable. E.g. binding a texture at CPU, while not using at GPU doesn’t make sense. And using a uniform at GPU which is not set at CPU also doesn’t make sense. In LibGDX both the CPU and GPU parts together make up a Shader. It does whatever it needs to do (but should do not more than that) to render the provided renderable.
This might be a bit confusing, because in most literature a shader is referring to only the GPU part (GLSL code). In LibGDX the GPU part (the combination of vertex shader and fragment shader) is called a ShaderProgram. And a Shader is the combination of both the CPU and GPU part. Most commonly a Shader uses a ShaderProgram, but it doesn’t have to (e.g. in case of OpenGL ES 1.x).
Now we’re going to write a Shader from scratch instead of relying on the DefaultShader, so create a new class called TestShader:
public class TestShader implements Shader {
	@Override
	public void init () {}
	@Override
	public void dispose () {}
	@Override
	public void begin (Camera camera, RenderContext context) {	}
	@Override
	public void render (Renderable renderable) {	}
	@Override
	public void end () {	}
	@Override
	public int compareTo (Shader other) {
		return 0;
	}
	@Override
	public boolean canRender (Renderable instance) {
		return true;
	}
}
Before we implement this shader, we’ll first look at last two methods. The compareTo method is used by ModelBatch to decide which shader should be used first, we will not use that for now. The canRender method will be used to decide the shader should be used to render the specified renderable, we will look into that soon. But for now we always return true.
The init() method is called once, right after the shader is created. This is where we can create the ShaderProgram we’ll be going to use:
public class TestShader implements Shader {
	ShaderProgram program;

	@Override
	public void init () {
		String vert = Gdx.files.internal("data/test.vertext.glsl").readString();
		String frag = Gdx.files.internal("data/test.fragment.glsl").readString();
		program = new ShaderProgram(vert, frag);
		if (!program.isCompiled())
			throw new GdxRuntimeException(program.getLog());
	}

	@Override
	public void dispose () {
		program.dispose();
	}
	...
}
In the init method, we read the vertex and fragment GLSL files and use them to construct the ShaderProgram. If the ShaderProgram isn’t compiled successfully we throw a meaningful exception so we can easily debug the GLSL code. The ShaderProgram needs to be disposed, therefor we also added a line to our dispose method.
The begin method will be called every frame when the shader is about to be used for rendering one or more renderables. The end() method is called every frame when the rendering with the shader is ready. The render method will only be called between a call to begin() and end(). Thus, the begin() and end() method can be used to bind and unbind our ShaderProgram:
public class TestShader implements Shader {
	...
	@Override
	public void begin (Camera camera, RenderContext context) {
		program.begin();
	}
	...
	@Override
	public void end () {
		program.end();
	}
	...
}
The begin method has two arguments, camera and context, which will be exclusive (and not changed) for our shader until the end method is called. Let’s cache them:
public class TestShader implements Shader {
	ShaderProgram program;
	Camera camera;
	RenderContext context;
	...
	@Override
	public void begin (Camera camera, RenderContext context) {
		this.camera = camera;
		this.context = context;
		program.begin();
	}
	...
}
The shader program expects two uniforms u_worldTrans and u_projViewTrans. The latter depends only on the camera, which means we can set that within the begin method:
	@Override
	public void begin (Camera camera, RenderContext context) {
		this.camera = camera;
		this.context = context;
		program.begin();
		program.setUniformMatrix("u_projViewTrans", camera.combined);
	}
The u_worldTrans depends on the renderable, so we have to set that value within the render() method:
	@Override
	public void render (Renderable renderable) {
		program.setUniformMatrix("u_worldTrans", renderable.worldTransform);
	}
Now we’ve set all uniforms, we need to set the attributes, bind the mesh and render it. This can be done using a single call to mesh.render():
public class TestShader implements Shader {
	...
	@Override
	public void render (Renderable renderable) {
		program.setUniformMatrix("u_worldTrans", renderable.worldTransform);
		renderable.meshPart.render(program);
	}
	...
}
View full source code on github
That’s about it, so let’s use the shader within our ShaderTest:
public class ShaderTest implements ApplicationListener {
   ...
   @Override
   public void create () {
       ...
       renderContext = new RenderContext(new DefaultTextureBinder(DefaultTextureBinder.WEIGHTED, 1));
       shader = new TestShader();
       shader.init();
   }
   ...
}
View full source code on github
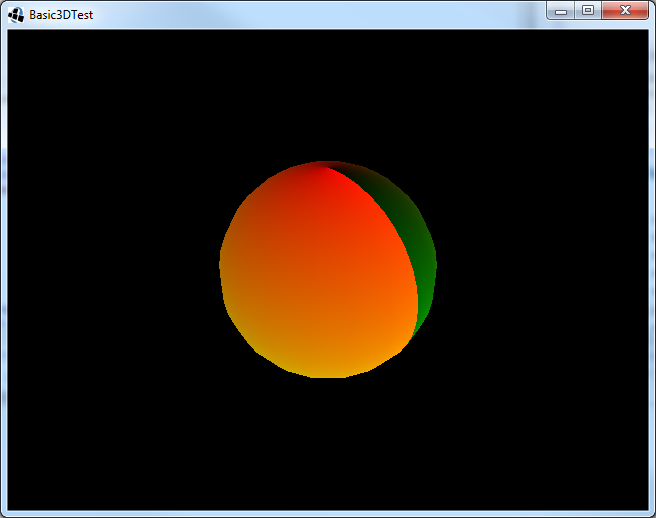
Now if you run this, it will look something like this:
Well, that doesn’t seem right. That’s because we didn’t set the RenderContext to use depth test. So let’s change that. And while we’re at it, we might as well enable backface culling. Enabling back face culling will not render (cull) faces (triangles) which are not facing the camera. So if the camera would be inside the sphere, you would not see the sphere (you can test this by zooming into the sphere):
public class TestShader implements Shader {
	...
	@Override
	public void begin (Camera camera, RenderContext context) {
		this.camera = camera;
		this.context = context;
		program.begin();
		program.setUniformMatrix("u_projViewTrans", camera.combined);
		context.setDepthTest(true, GL20.GL_LEQUAL);
		context.setCullFace(GL20.GL_BACK);
	}
View full source code on github
Now run it again and see that it looks a lot better.
So that’s it, we’ve now created both the CPU and GPU parts of the shader. But before we call it a day, look at the following line:
program.setUniformMatrix("u_worldTrans", renderable.worldTransform);
Here we set the uniform called u_worldTrans to the value of renderable.worldTransform. However that means that the ShaderProgram must find the location of the u_worldTrans uniform within the program (which is a costly String lookup) every time the render() method is called. The same goes for the u_projViewTrans uniform. We can optimize that by caching the location:
public class TestShader implements Shader {
	ShaderProgram program;
	Camera camera;
	RenderContext context;
	int u_projViewTrans;
	int u_worldTrans;

	@Override
	public void init () {
		...
		u_projViewTrans = program.getUniformLocation("u_projViewTrans");
		u_worldTrans = program.getUniformLocation("u_worldTrans");
	}
	...
	@Override
	public void begin (Camera camera, RenderContext context) {
		this.camera = camera;
		this.context = context;
		program.begin();
		program.setUniformMatrix(u_projViewTrans, camera.combined);
		context.setDepthTest(true, GL20.GL_LEQUAL);
		context.setCullFace(GL20.GL_BACK);
	}

	@Override
	public void render (Renderable renderable) {
		program.setUniformMatrix(u_worldTrans, renderable.worldTransform);
		renderable.meshPart.render(program);
	}
	...
}
View full source code on github
Now we have created our first very basic shader using the LibGDX 3D api. In the next tutorial we’ll see how to use (custom) material attributes within your shader.
This webpage is open source and can be found at: https://github.com/xoppa/xoppa.github.io.
The accompanying sources can be found at: https://github.com/xoppa/blog.
Let me know what you think about this post in the comments below. If you need help then please use the forum instead. If you found an issue with this post then please report an issue or send a pull request.